In a nutshell
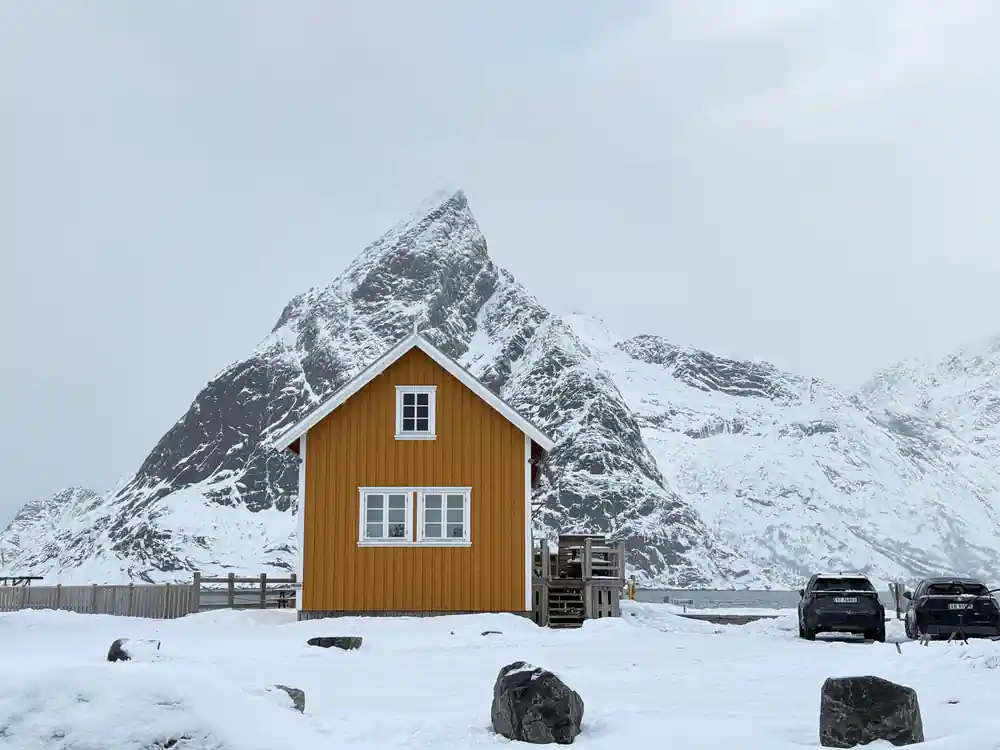
- Winter sun stays low all day in Lofoten. Shoot mid-morning through early afternoon for warm light on Hamnøy bridge and Reine's red cabins without harsh shadows.
- Drones are prohibited in populated areas near homes and fisheries. Check restrictions at each viewpoint; away from buildings and people the distance rules can be met, but Svolvær sits inside its airport control zone.
- Each major stop receives ample time during the 9-hour itinerary. Plan 10-30 minutes per viewpoint for composition scouting, positioning and multiple exposures without rushing.
- Modern phones handle Lofoten's contrast well. Cameras excel in low light and dynamic range, but a phone with HDR mode captures this route's drama if battery stays warm and protected.
- Salt spray and rain are constant threats. Bring a sealed bag, microfiber cloth and lens caps. Keep batteries inside your jacket; cold drains them fast on the water and exposed ridge walks.
Stop-by-stop compositions across the route
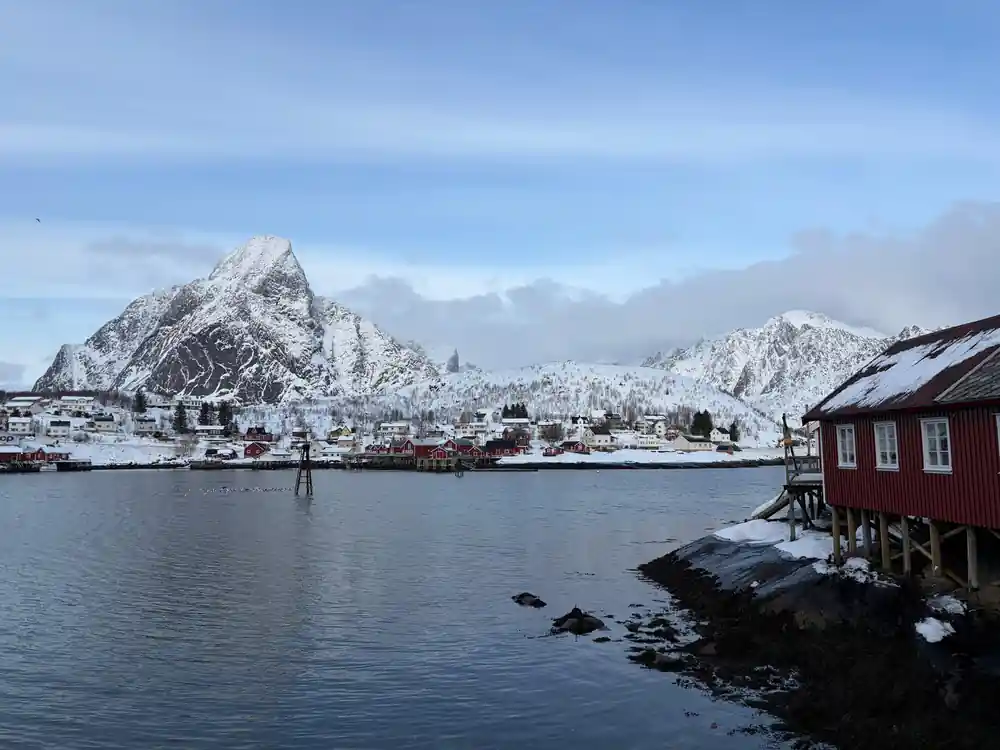
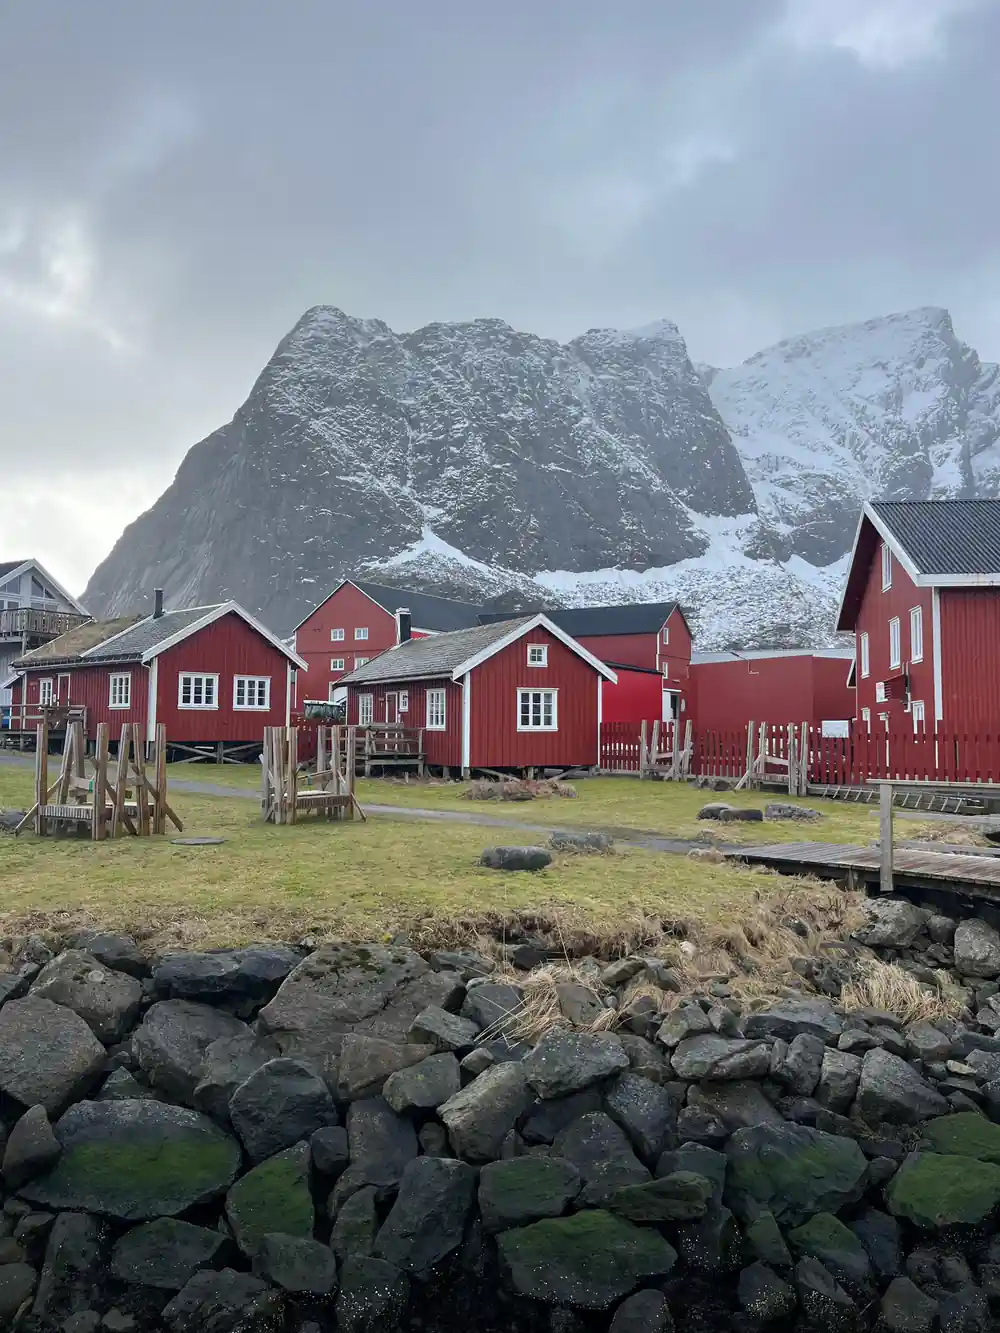
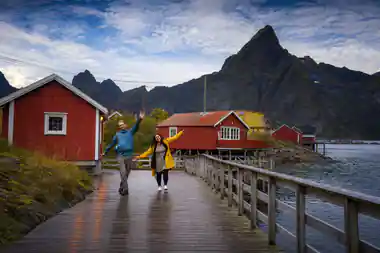
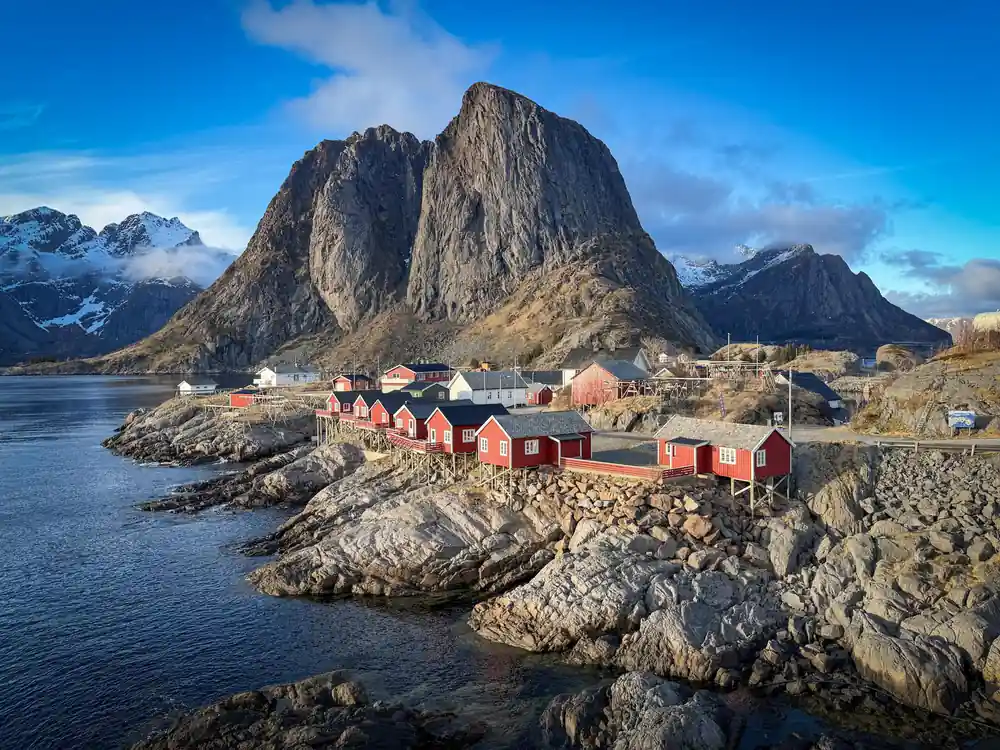
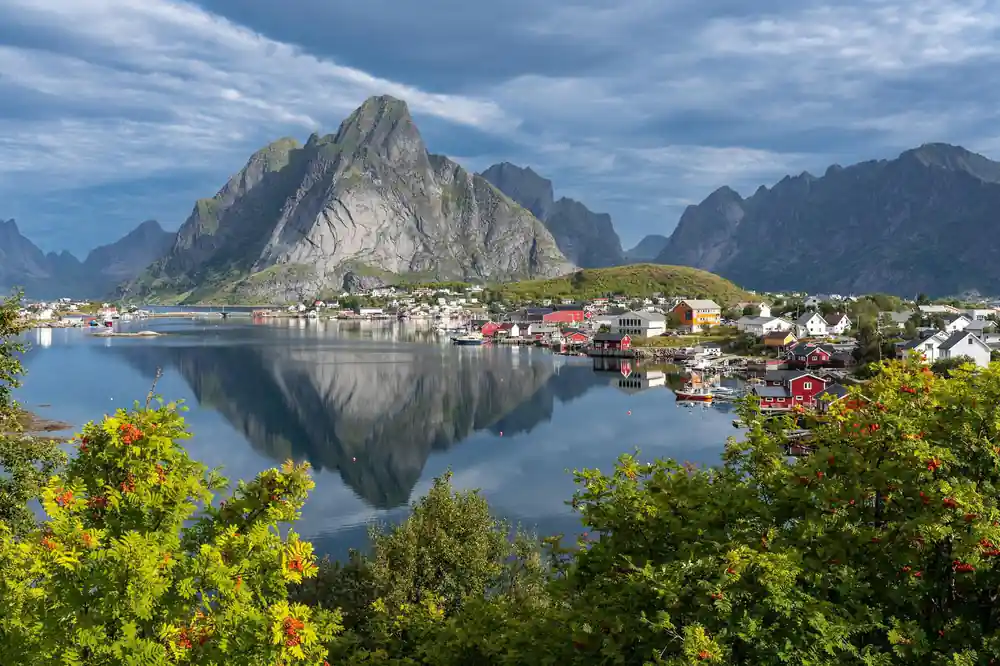
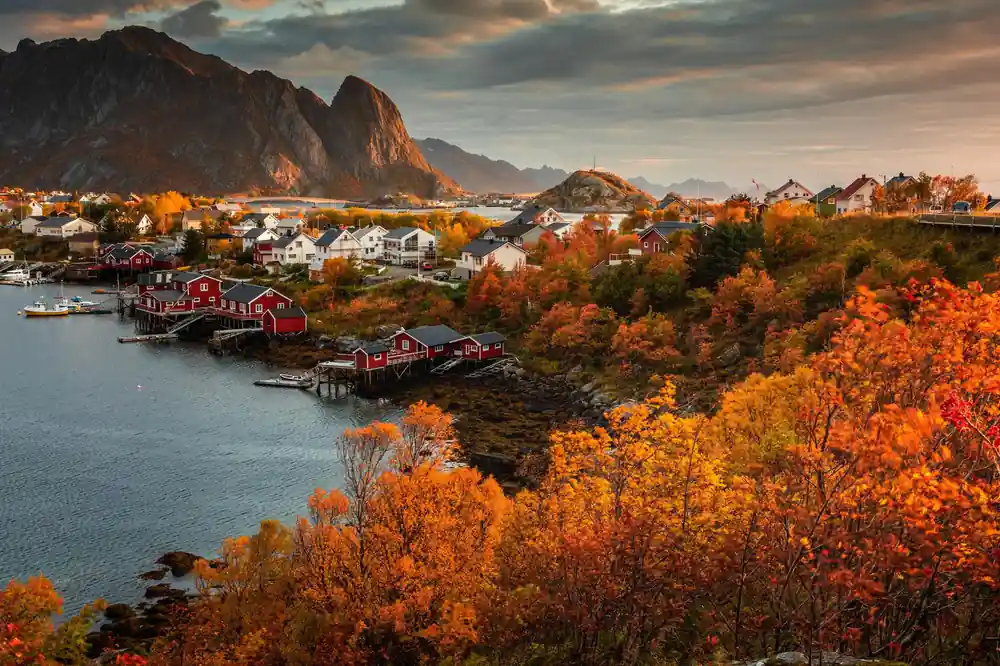
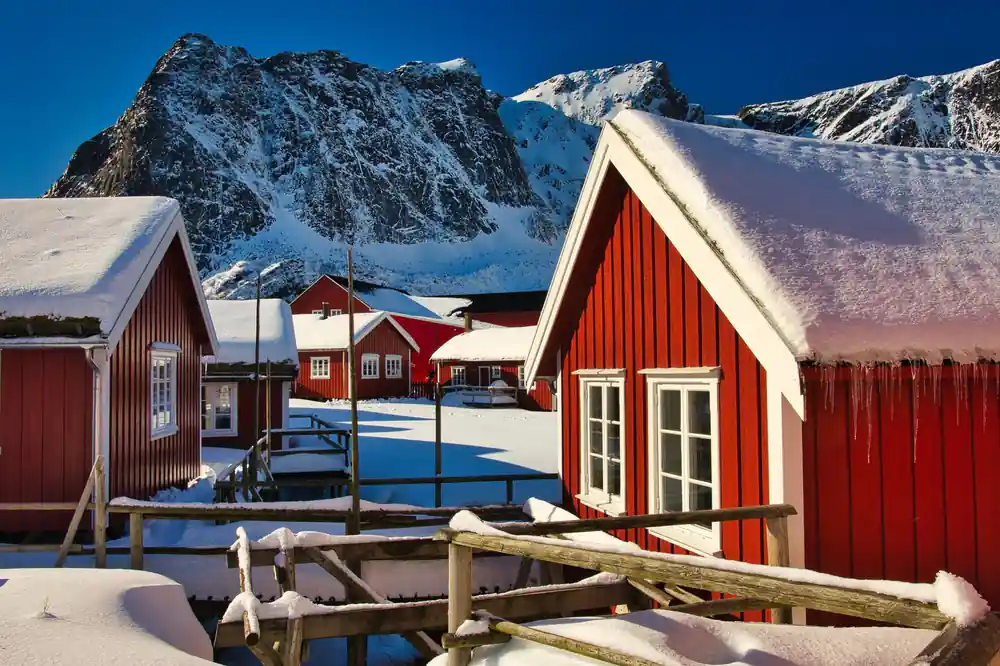
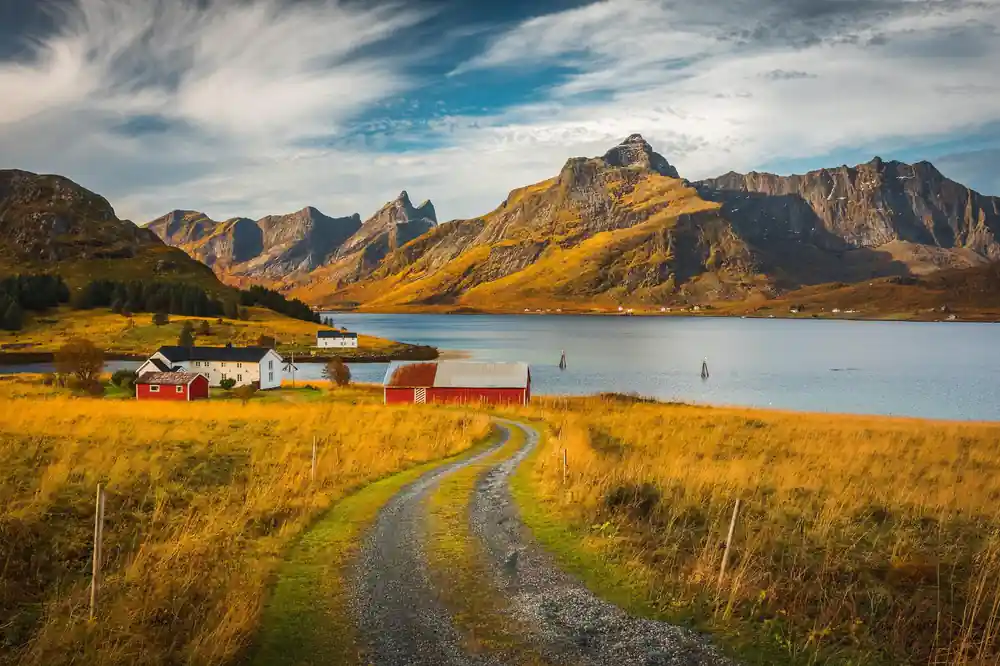
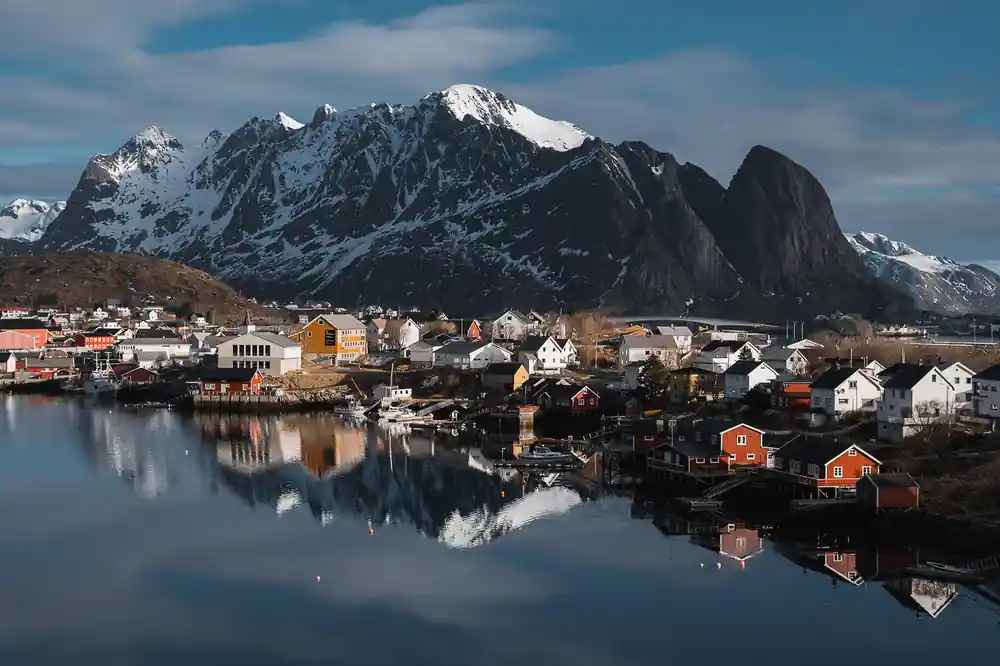
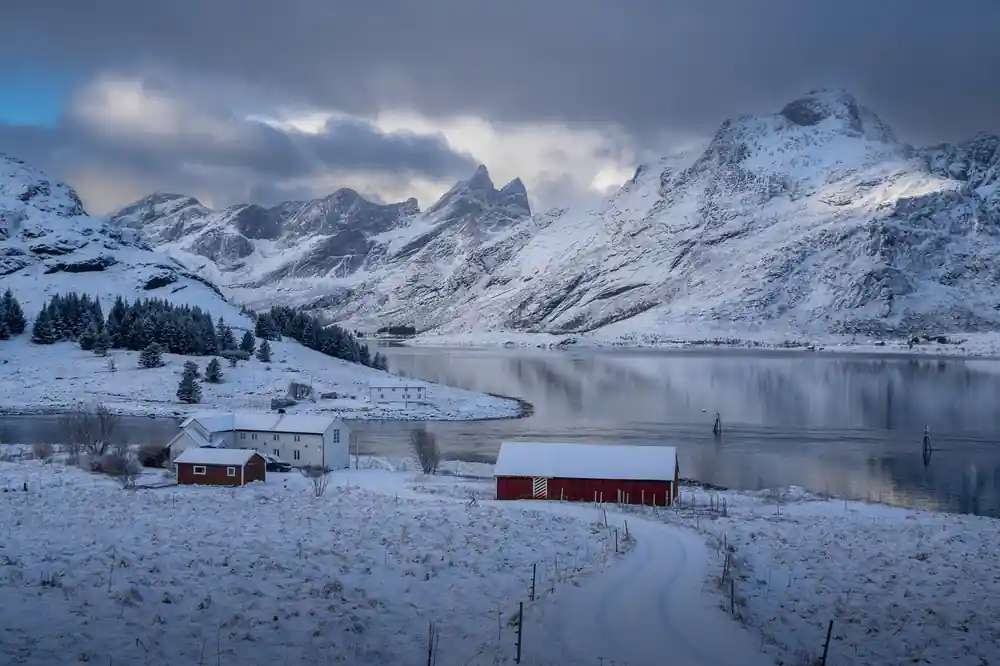
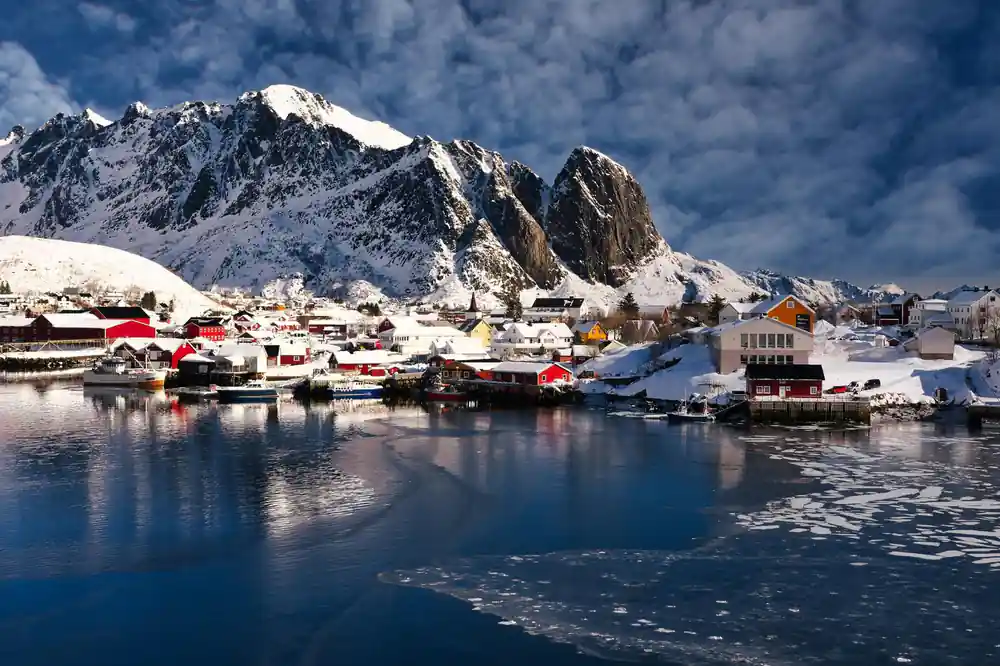
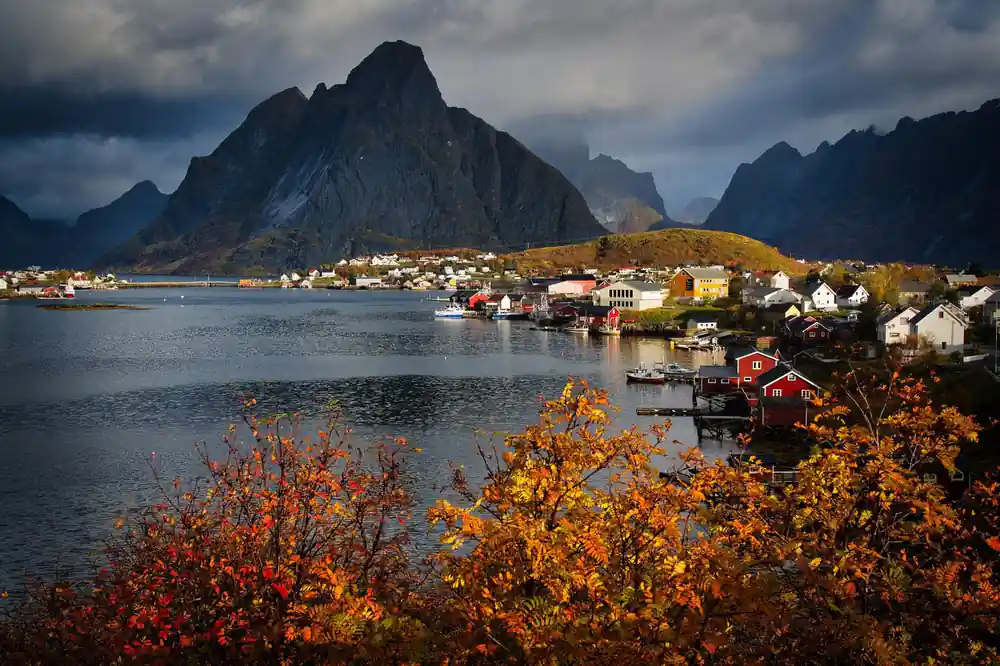
The 9-hour tour moves through seven locations, each with distinct photographic potential. Starting from Svolvær, the drive itself yields landscape views across the Lofoten Islands as you travel south. Flakstadpollen presents water-level perspectives where mountains drop directly into the fjord, especially striking in low winter light. Reine comes late in the day and is the tour's most photographed stop: red rorbu cabins, their reflections and snow-capped peaks compress into a single frame from the waterfront. The famous view looking down on all of it is from Reinebringen, 448 m up 1,978 stone steps, which is a separate outing and not part of this tour.
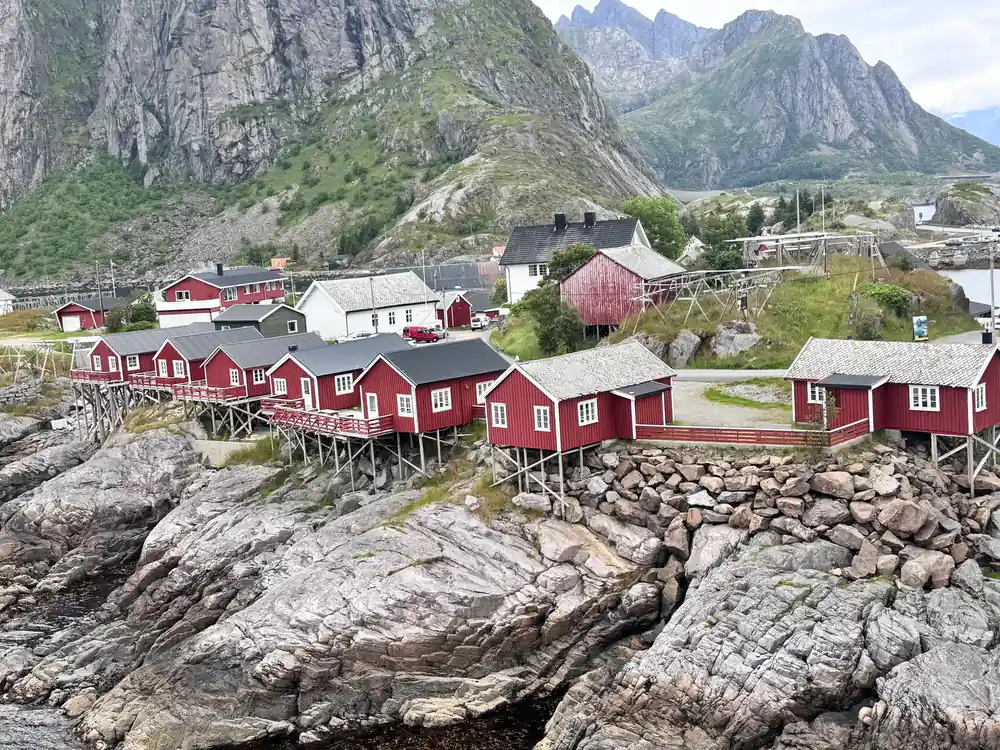
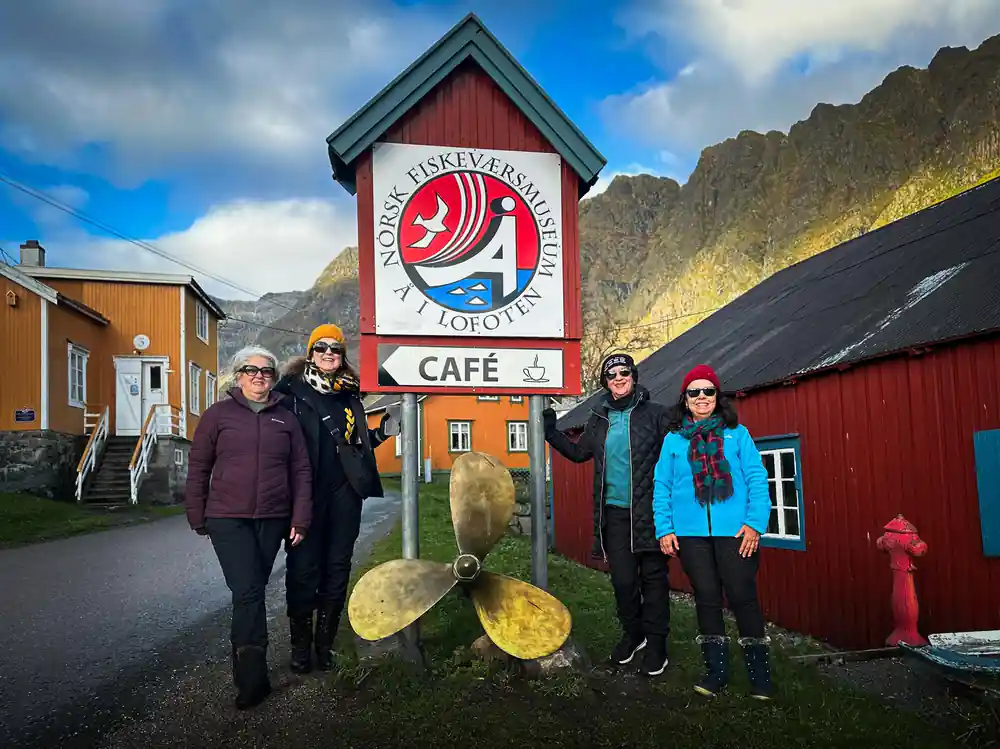
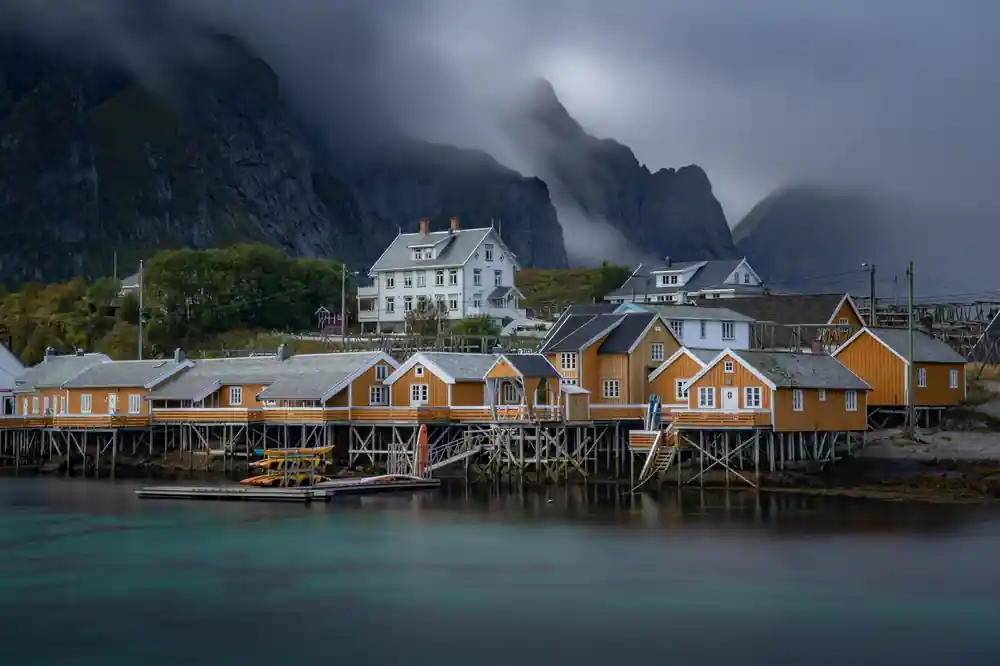
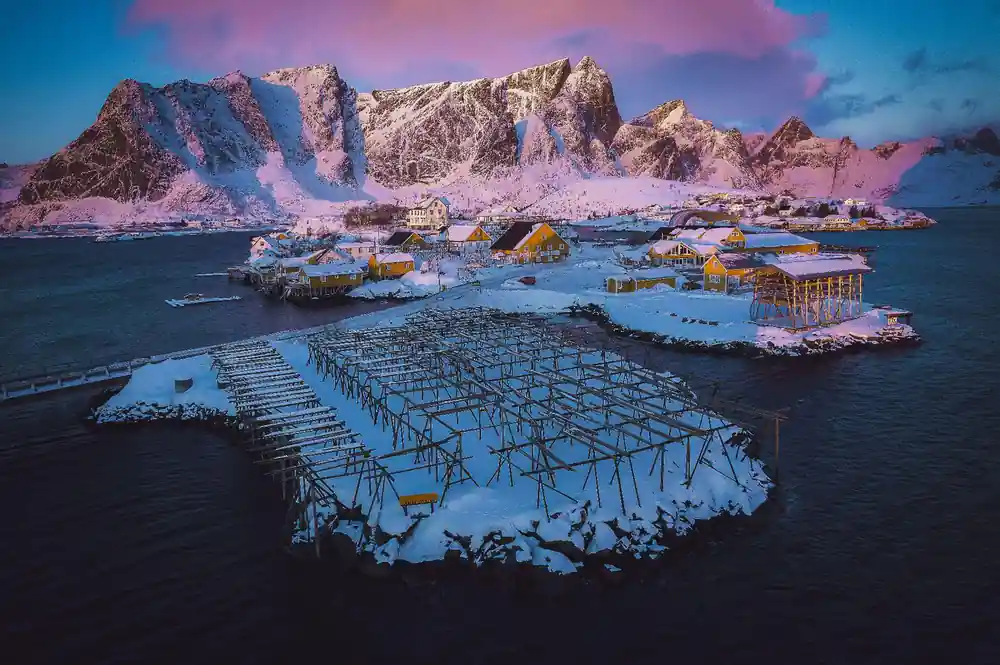
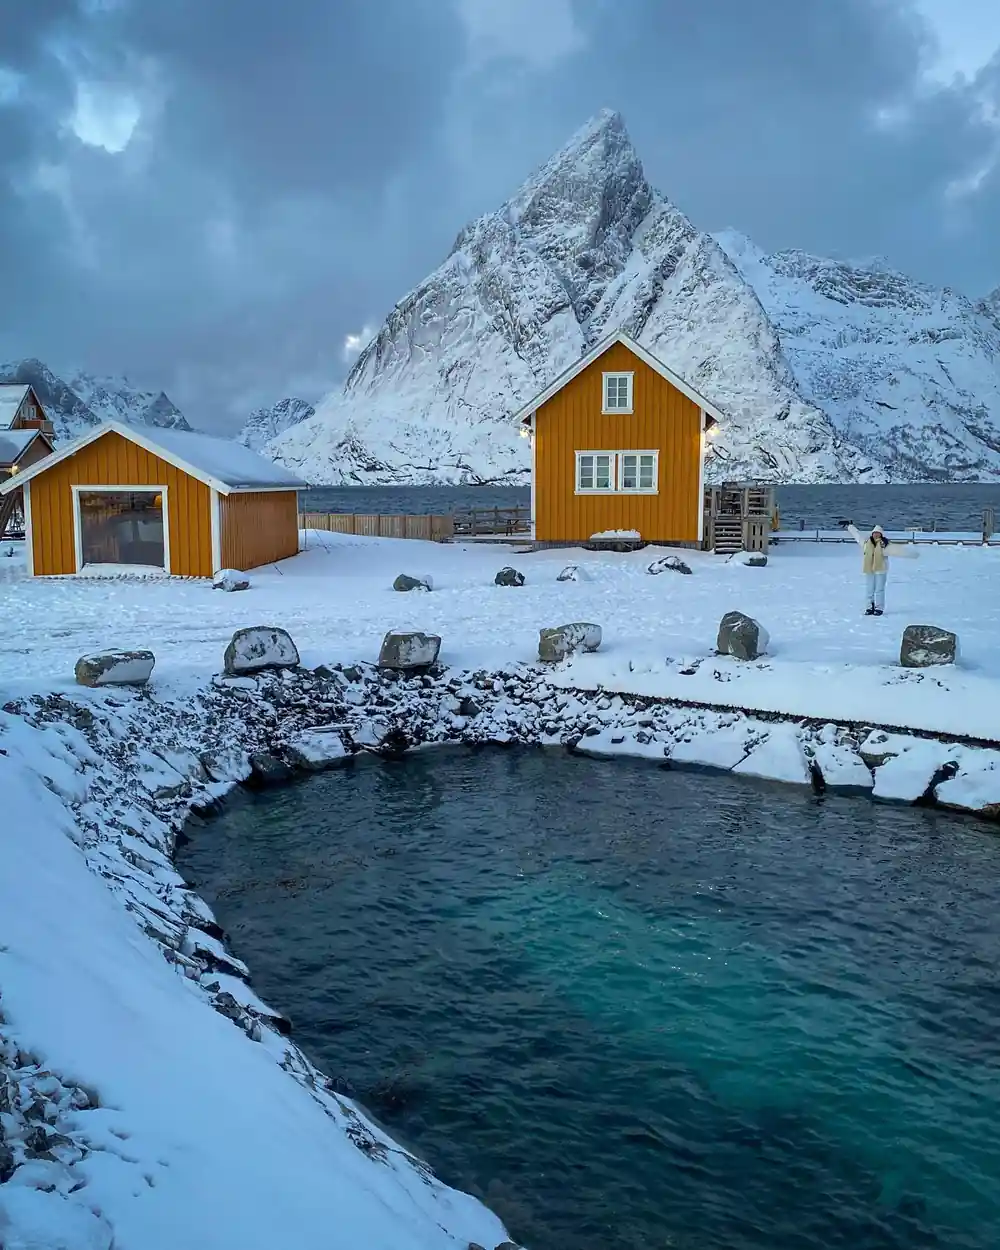
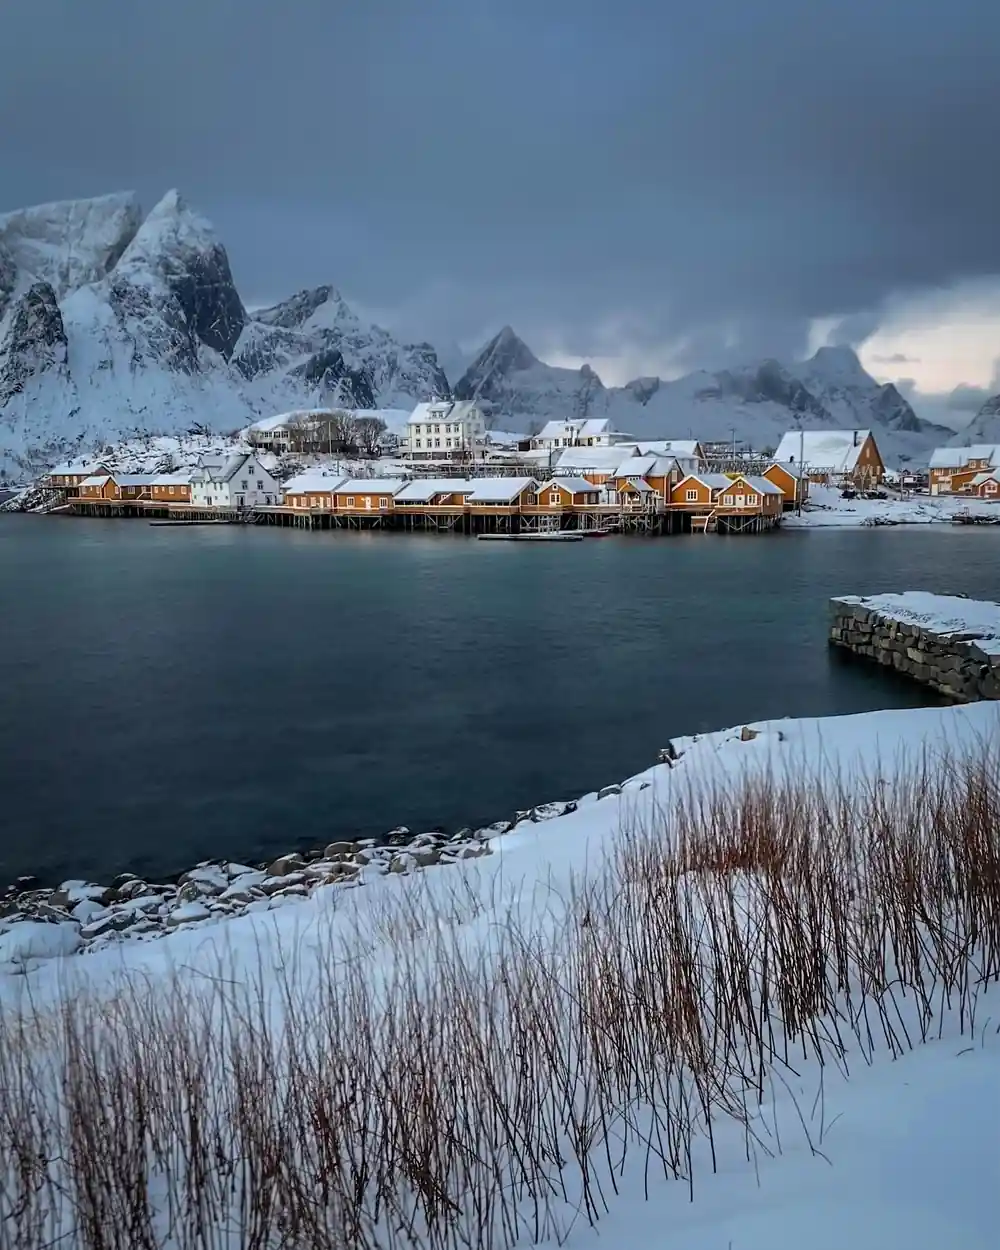
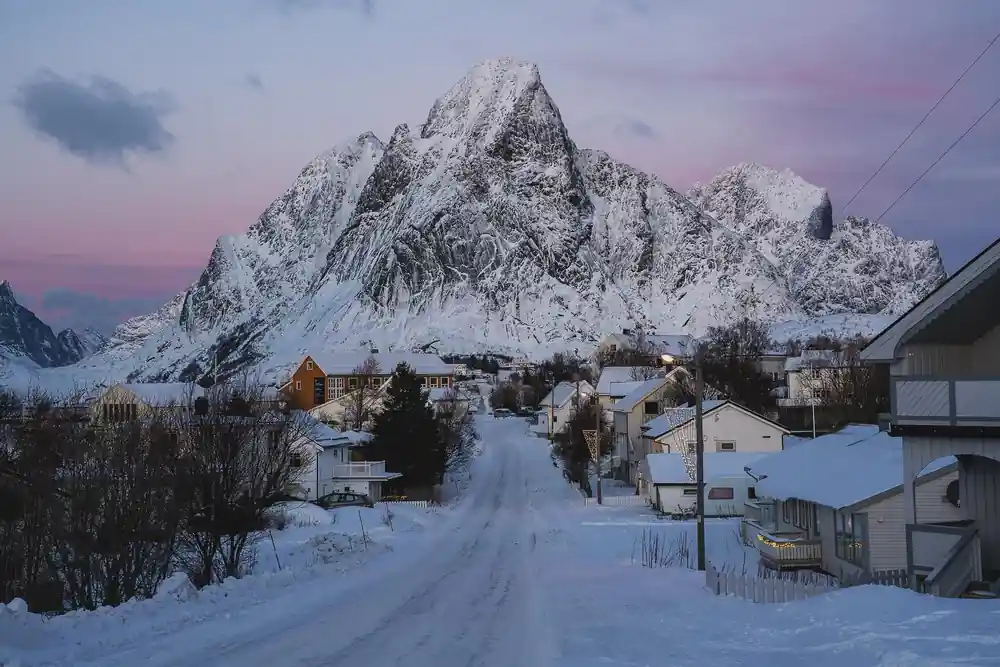
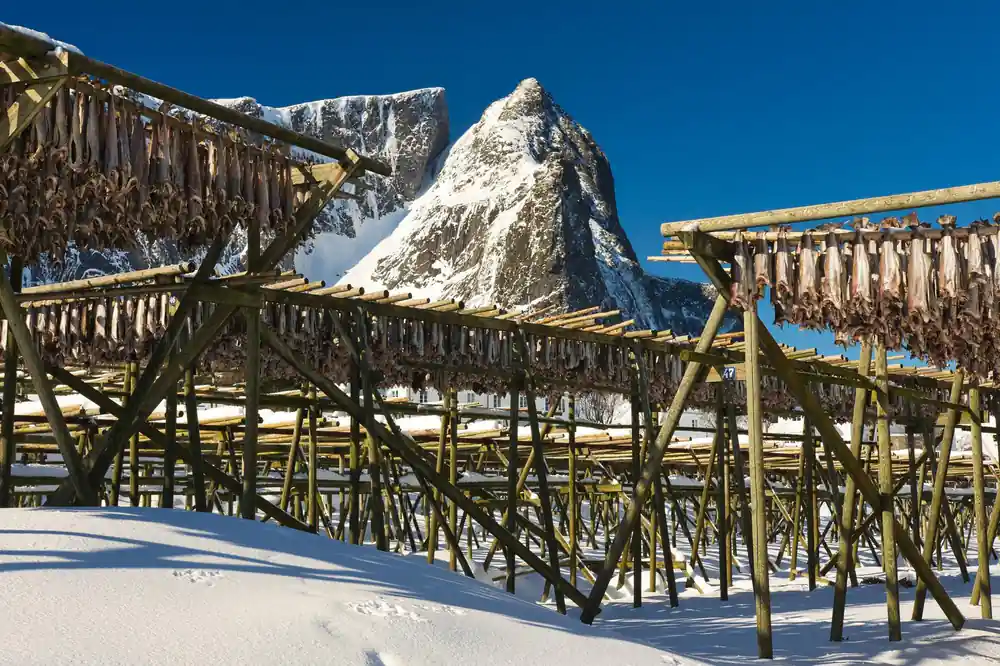
Å i Lofoten, the southernmost stop, offers intimate street-level shots of traditional architecture and fishing activity, with the mountains framing the village backdrop. The guide structures stops to let you shoot without rush. Hamnøy foto, as locals call the spot, sits on the eastern shore and captures a cluster of red buildings against grey-green water and steep cliffs. Sakrisøy photo spot lies nearby and provides angles on weathered boathouses and drying racks from across a narrow strait. Reine village itself allows you to move between the water's edge and elevated lanes, adapting composition to light and cloud cover. The return journey passes through Ramberg and Flakstad again, offering late-afternoon shots as the sun angle changes dramatically from morning passes.
Exposure for snow and the low Arctic sun
Lofoten's winter light arrives low on the horizon and stays diffuse even at midday. Snow in the foreground or mid-ground reflects light aggressively, tricking your camera's meter into underexposure. Expose for the snow itself by metering off a white surface, then add one to two stops of compensation so that snow appears white rather than grey. If your camera or phone has a snow scene mode, use it. For the Svolvaer viewpoint and other elevated positions, bracket your shots: take one at your meter's reading, one overexposed by one stop, and one underexposed by half a stop. This gives you options when editing later. The low sun angle means shadows fall long and dark; if your subject sits in shadow, you may need to lift exposure in post-processing to recover detail, so shoot raw format if your camera allows it.
Phones handle snow better than they used to, but they often struggle with the contrast between bright water and dark rock. Use exposure lock by tapping and holding on your subject before you shoot. For cameras with manual controls, start at ISO 400, f/5.6, and 1/250th second in bright midday conditions, then adjust based on your histogram. The Arctic light reflects off water and ice differently than the sun angle suggests; what looks evenly lit to your eye may contain hidden shadow. Always check your preview image on the back of the camera or phone rather than trusting what you see in the viewfinder alone.
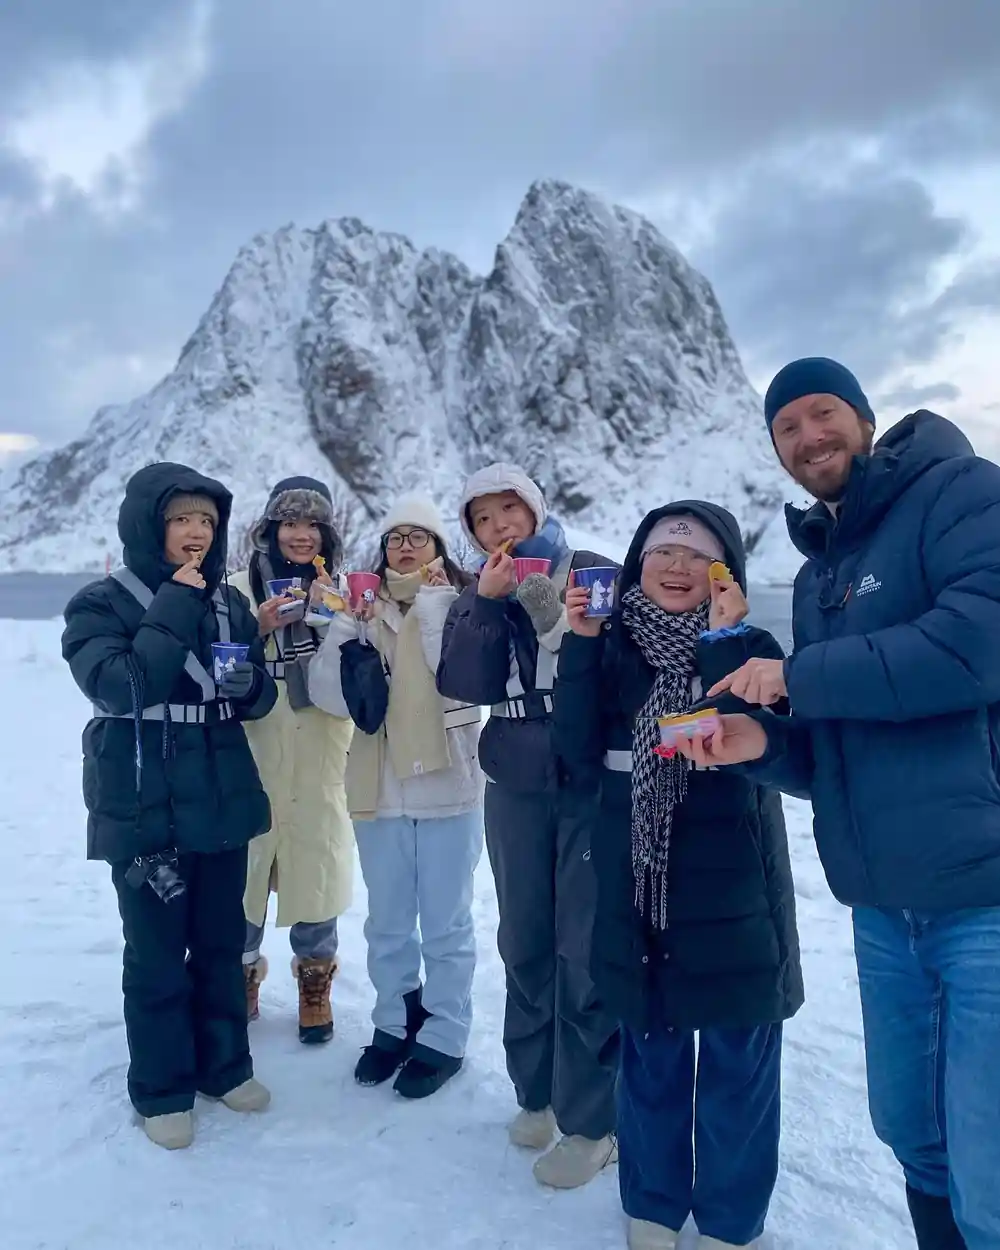
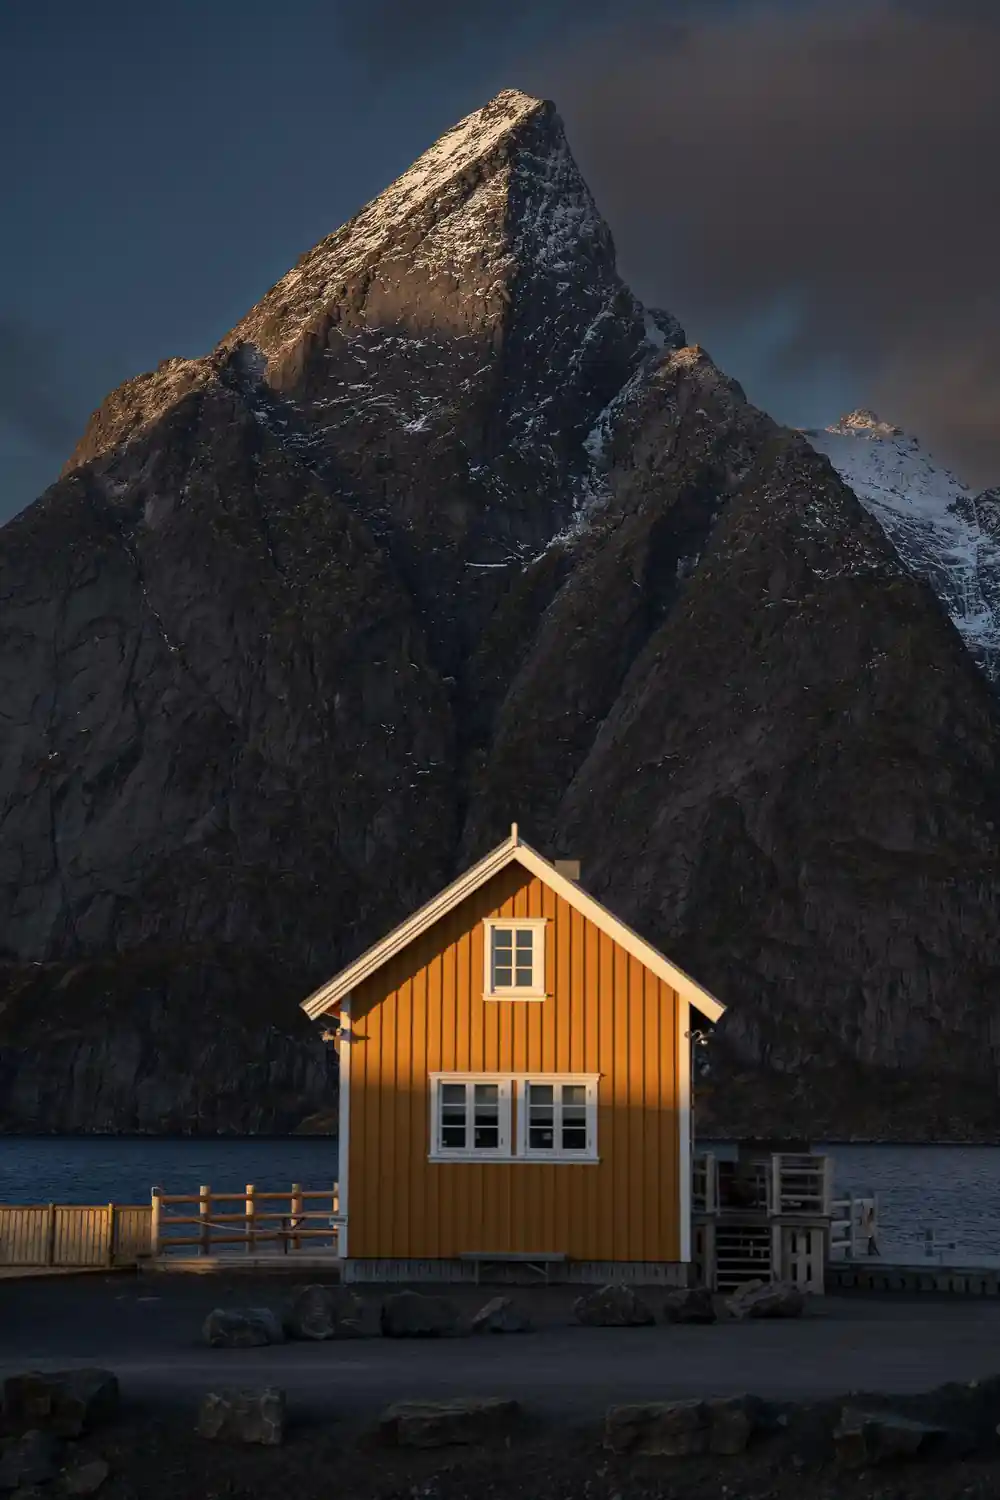
Golden hour fades fast: shoot the red cabins early or wait for alpenglow.
Protecting gear from rain and salt spray
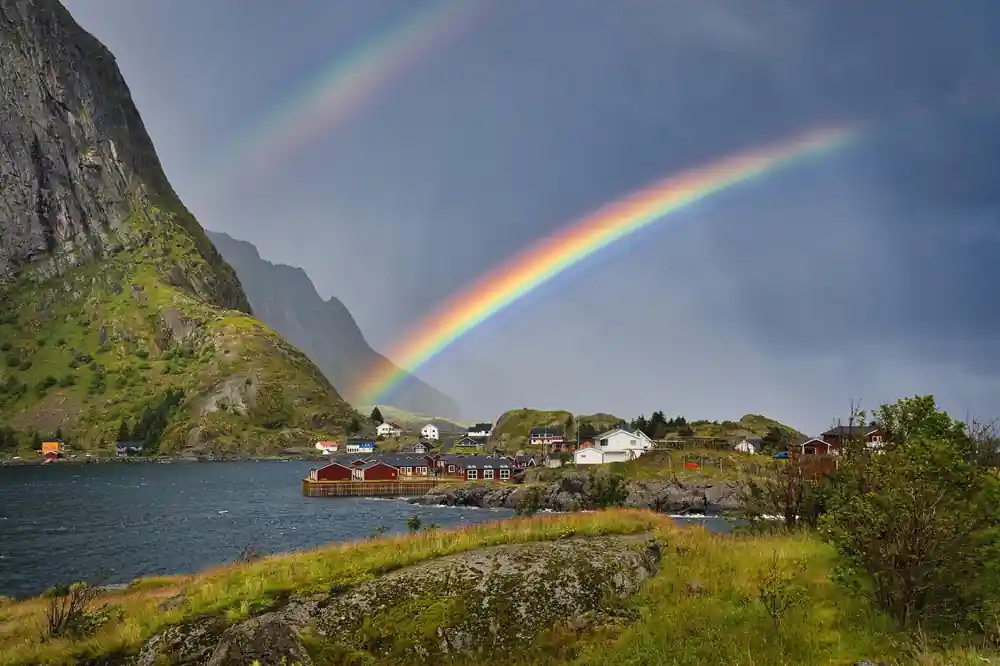
Lofoten weather changes quickly. Even clear mornings can bring rain by afternoon, and coastal spray reaches far inland. Salt corrodes electronics faster than freshwater alone. Bring a rain cover for your camera, or use a waterproof dry bag and remove your camera only when actively shooting. Wipe your lens with a microfiber cloth every 20 to 30 minutes, especially after any spray. Store lens caps in a pocket rather than dangling them, so they do not attract salt moisture. If you use a tripod, wipe the legs and joints with a dry cloth before packing it away. After the tour ends, rinse your camera bag with fresh water when you return to your accommodation; do not wait until you arrive home.
Phones need equal care. Use a waterproof case or keep your phone in a sealed pouch until you need to shoot. If you do not have a case, dry your phone thoroughly and avoid touching the charging port for several hours after exposure to spray. Salt dries invisible but conductive; if it sits on your electronics, it can cause short circuits days later. Bring more lens cleaning cloths than you think you need, since they get wet and salty. Avoid changing lenses outdoors; salt air enters the camera body more easily when the lens mount is exposed. Keep your camera bag closed except when you are actively reaching into it.
Etiquette around working fishing villages
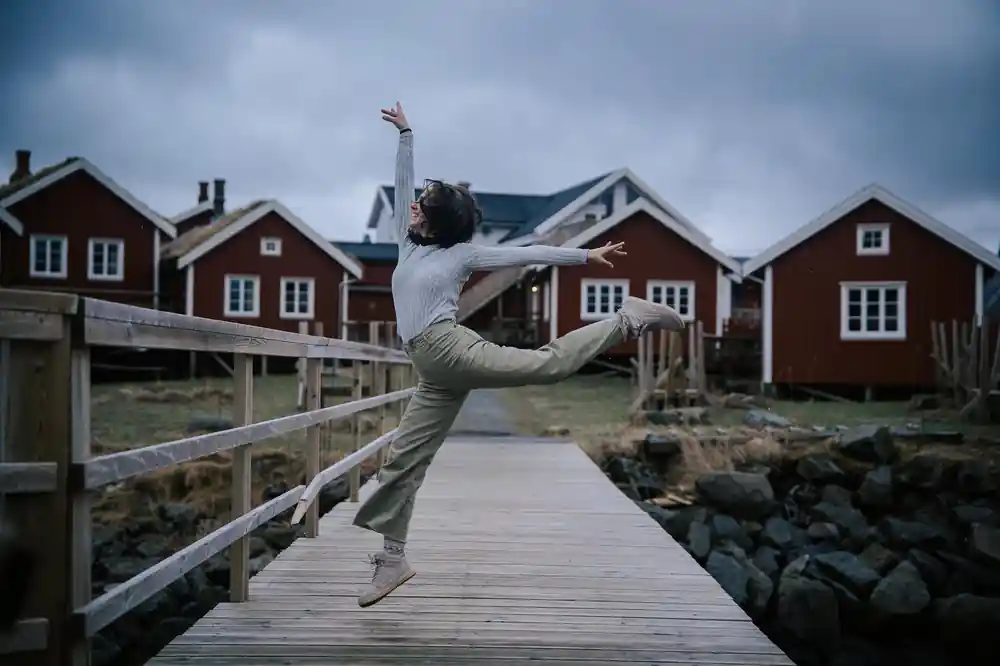
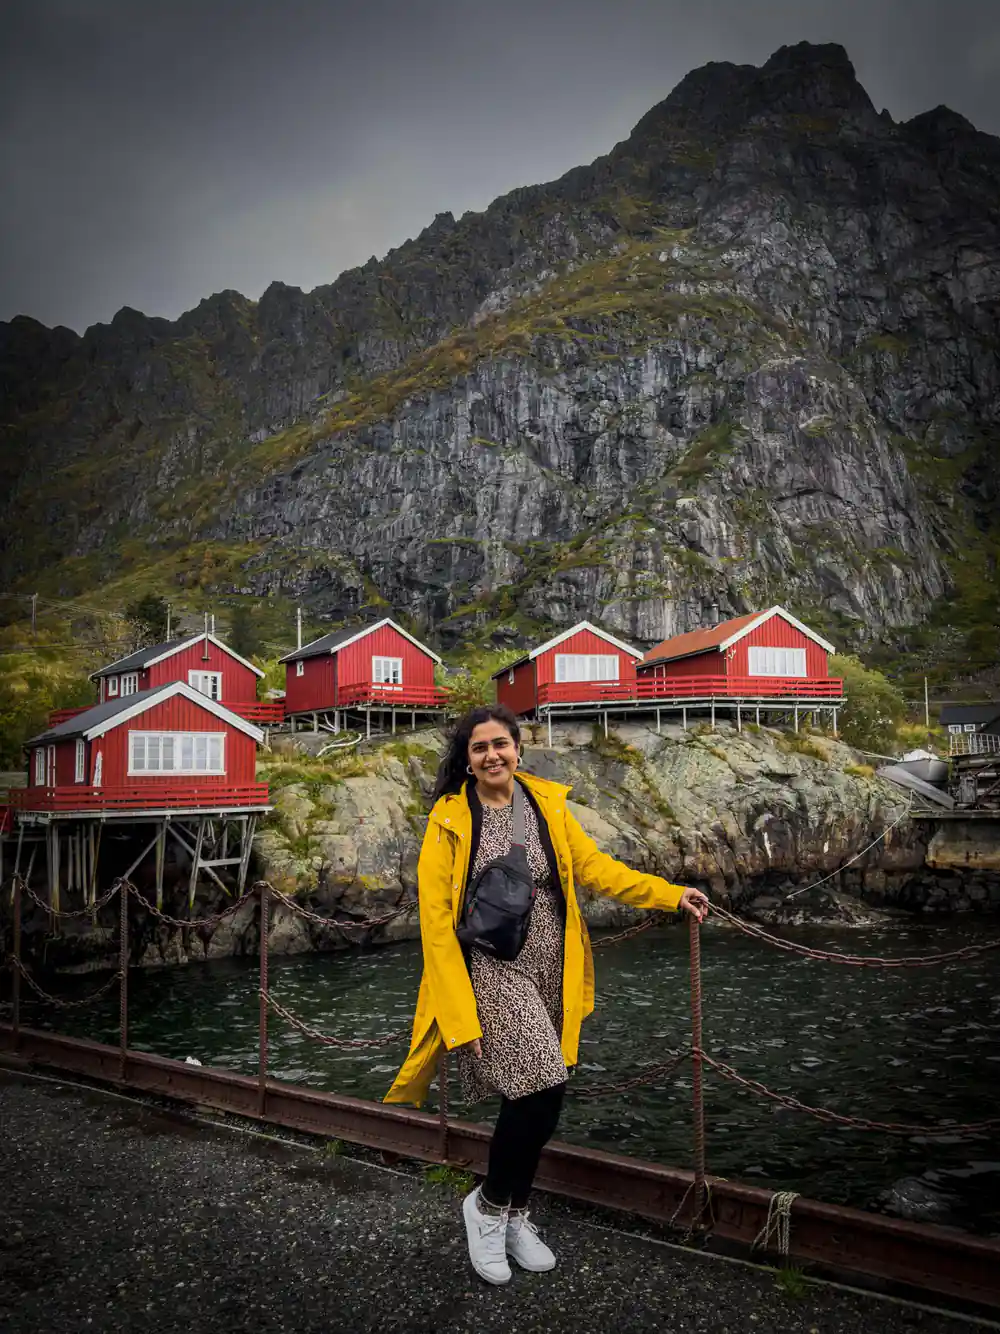
Several stops, especially Hamnøy and Sakrisøy, are active fishing communities. Residents live and work where tourists photograph. Do not enter private property or lean against boats without permission. Many red cabins are private homes, not photo props. Ask before shooting anyone's boat, nets, or dock. If a fisherman or resident asks you to stop, stop immediately without argument. Do not move equipment, racks, or buoys for a better composition. These items belong to working people and moving them disrupts their livelihood. Keep to pathways and designated viewpoints. The tour guide will point out where it is safe and welcome to stand; follow their lead.

Phones versus dedicated cameras on a day tour
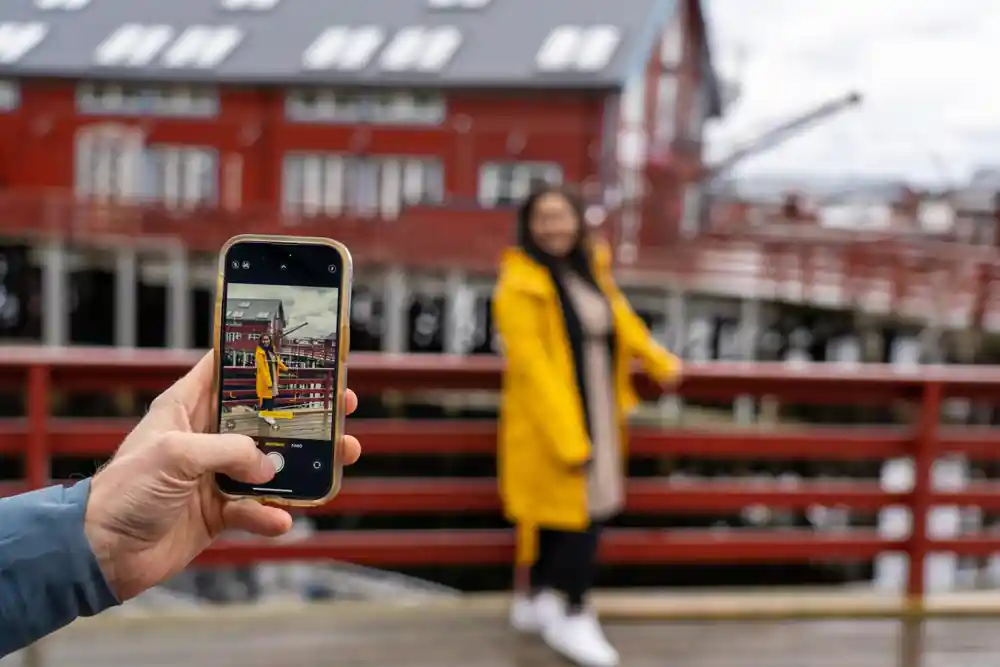
Modern phones produce sharp images in good light and handle the Lofoten landscape better than phones did five years ago. A phone's computational photography automatically brightens shadow detail and manages highlights, which helps in high-contrast Arctic conditions. You can edit phone photos with the same apps professionals use. The drawback: phones struggle with zoom quality, low-light interiors, and fine detail in texture. If you plan to print large, a camera with a good lens delivers noticeably better results. For social media and screen-only viewing, a phone is entirely adequate. Consider your intended use before deciding. On this tour, you will not feel out of place shooting with a phone, and the guide will not judge your equipment. Many of your fellow passengers will use phones, and several will use cameras. Bring what you have, since the locations and light matter far more than the device.
Drone regulations and where flying is possible
Drones are restricted in Norway near populated areas, and all four main stops on this tour sit within towns or villages where drone flight is prohibited without special permission. Svolvær sits inside its airport control zone, and at Reine, Å and Hamnøy the distance rules around people and buildings leave little room to fly. Flakstadpollen and open water areas away from buildings may permit flight if you hold a Norwegian drone license and follow local rules, and that certificate is a free online course and exam taking two to three hours, not weeks. Do not assume that empty-looking landscapes are legal for drones; many Norwegian protected areas forbid them. The Lofoten Islands are popular with photographers specifically because their scenery is dramatic, and that drama often comes from valleys and fjords where drones cannot legally operate. Bring a phone or camera instead, and do not risk a fine.
Tripods, stability and self-portraits on the move
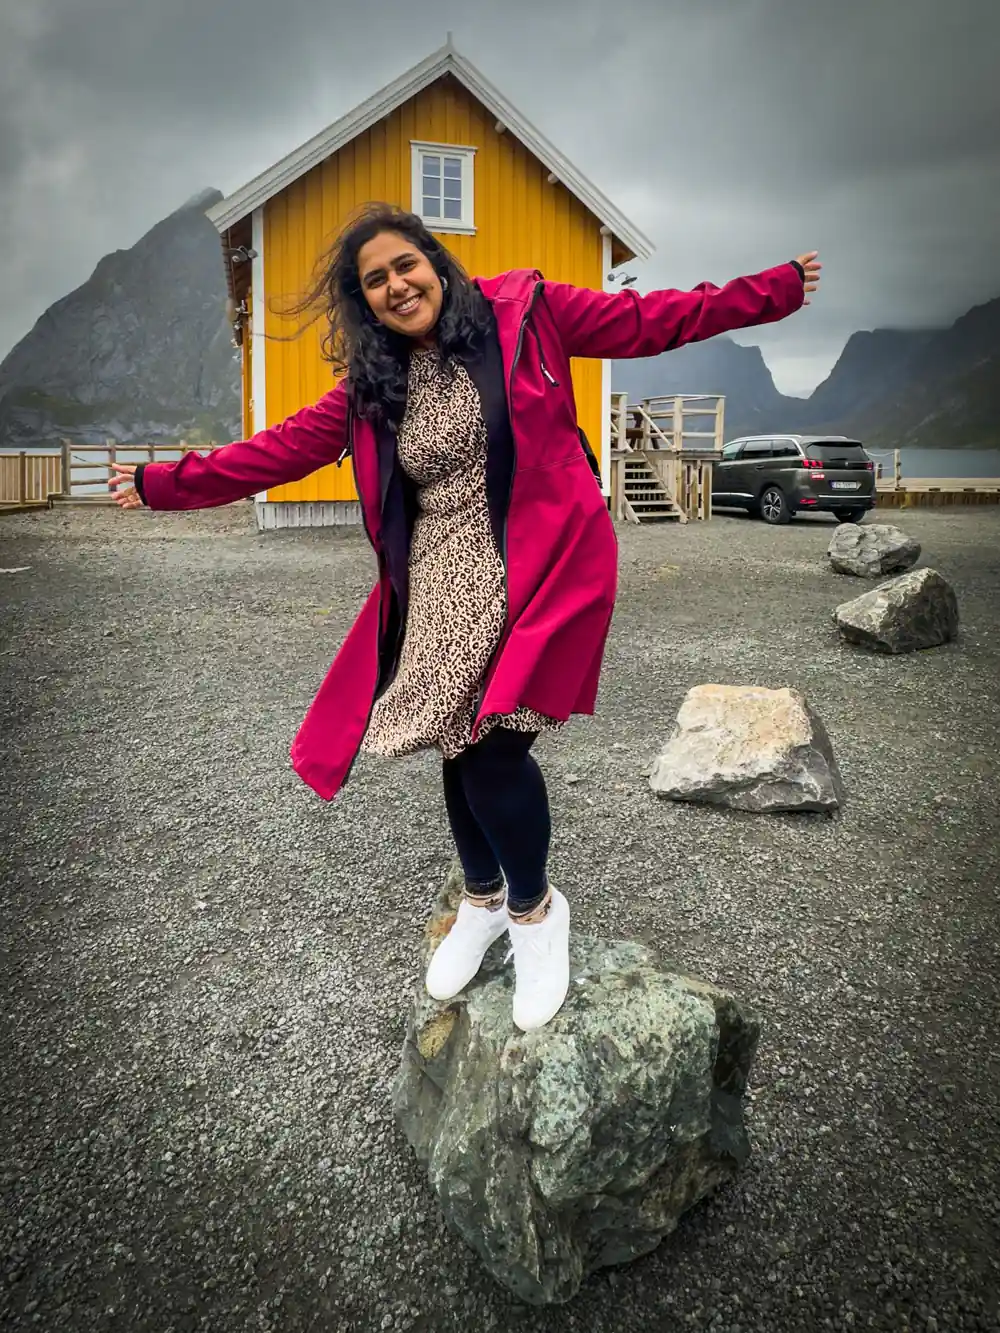
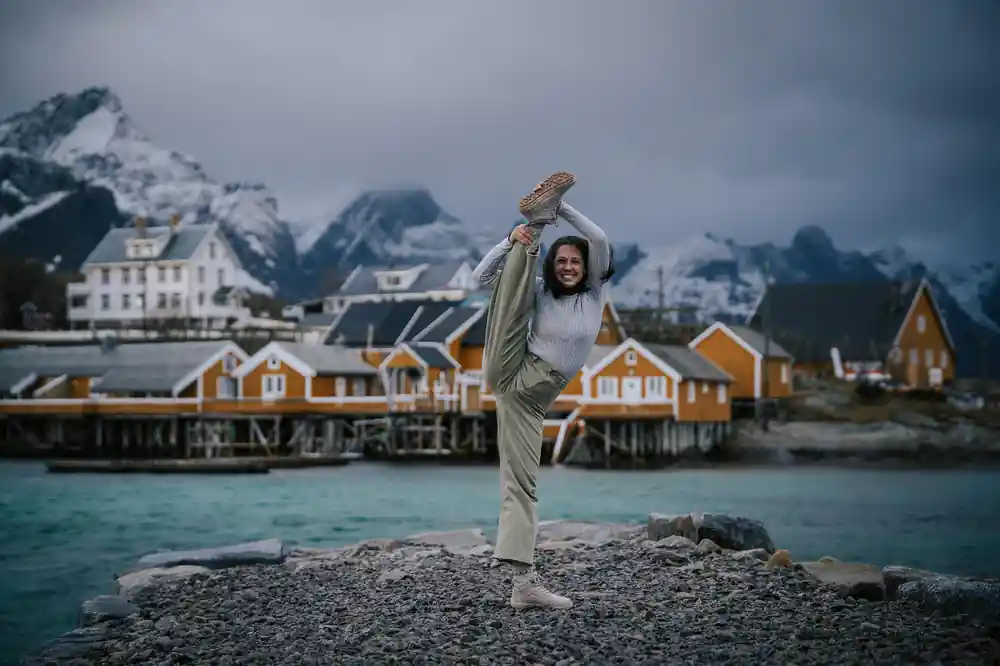
A tripod is optional on a day tour. The tour pace does not build in setup time for tripod shots, and nine hours of getting in and out of the van at 7 stops means carrying extra weight becomes tiring. Most photographers use their tripod only at the Reine viewpoint and Hamnøy foto, where you can plant it and frame a wide landscape or wait for light to shift across the water. If you want the guide to photograph you at a stop, ask them directly; they are accustomed to this request and will take a shot with your phone or camera. For long exposures of moving water or timed self-portraits, a tripod helps, but you will need to leave it set up while the group moves, which breaks the tour rhythm. A compact tripod or a tabletop model, if you own one, is a compromise: lighter than a full tripod but stable enough for most phone shots. Many visitors skip the tripod entirely and rely on rocks, fences, or asking fellow passengers to hold their camera at the moment they want a photo.
Small-group photography tour timed for golden hour
from US$209Reserve now & pay later